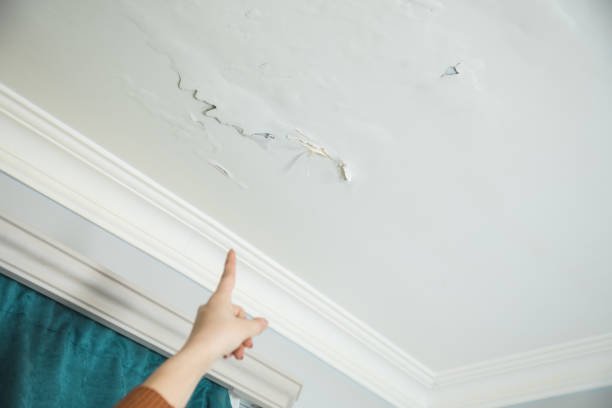
Welcome to our comprehensive guide on fixing plaster ceiling cracks! Whether you have a modern plaster ceiling design in your living room or a simple plaster ceiling throughout your home, discovering cracks can be disheartening. But fear not! In this blog, we’ll walk you through the process of repairing those cracks step by step, using easy-to-follow instructions. By the end, your plaster ceiling will look as good as new!
Repairing plaster ceiling cracks can be a bit of a meticulous task, but it’s definitely manageable with the right approach. Here’s a step-by-step guide to help you fix plaster ceiling cracks:
Materials Needed:
Having these items ready will make the repair process smoother and more efficient.
- Plaster of Paris or premixed joint compound
- Drywall joint tape (if necessary)
- Putty knife or trowel
- Sandpaper
- Primer
- Paint
- Paintbrush or roller
- Drop cloth or plastic sheeting
- Dust mask
- Safety goggles
Certainly, here’s a more detailed breakdown of each step:
Step 1: Prepare the Area
- Clear the space below the cracked area and cover the floor with a drop cloth or plastic sheeting to catch any falling debris.
- Wear a dust mask and safety goggles to protect yourself from dust and debris while working.
Step 2: Remove Loose Plaster
- Use a putty knife or scraper to gently remove any loose or crumbling plaster around the crack.
- Be cautious not to widen the crack further.
Step 3: Fill the Crack
- Mix plaster of Paris or premixed joint compound according to the manufacturer’s instructions.
- Using a putty knife or trowel, apply the plaster or joint compound directly into the crack. Fill it completely, ensuring there are no gaps.
- Smooth the surface of the filled crack as much as possible to blend it with the surrounding ceiling texture.
Step 4: Apply Joint Tape (if necessary)
- For wider or deeper cracks, apply drywall joint tape over the filled crack to reinforce it and prevent future cracking.
- Press the joint tape firmly into the wet plaster or joint compound, ensuring good adhesion.
Step 5: Smooth the Surface
- Use a damp sponge or putty knife to gently smooth the surface of the plaster or joint compound.
- This helps blend it with the surrounding ceiling texture and removes excess material.
Step 6: Let It Dry
- Allow the repaired area to dry completely according to the manufacturer’s instructions.
- This typically takes at least 24 hours, depending on the type and thickness of the material used.
Step 7: Sand the Surface
- Once the repaired area is fully dry, use fine-grit sandpaper to smooth out any rough patches or unevenness in the plaster or joint compound.
- Sand lightly to avoid damaging the repair.
Step 8: Prime the Surface
- Apply a coat of primer to the repaired area to seal the surface and ensure good adhesion for the paint.
- Use a brush or roller to apply the primer evenly and allow it to dry completely.
Step 9: Paint the Ceiling
- Once the primer is dry, paint the repaired area to match the rest of the ceiling. Use the same type and color of paint as the surrounding area.
- Apply the paint evenly with a brush or roller, and allow it to dry completely before applying a second coat if necessary.
Step 10: Clean Up
- Clean any tools used in the repair process and dispose of any debris properly.
- Remove the drop cloth or plastic sheeting from the floor, and ensure the area is clean and free of any dust or debris.
- By following these detailed steps, you should be able to effectively repair plaster ceiling cracks and restore the appearance of your ceiling.
Conclusion:
Congratulations on successfully repairing the cracks in your plaster ceiling! By following our step-by-step guide, you’ve not only saved time and money but also preserved the beauty of your home’s interior. Whether you have a modern plaster ceiling or a simple design, remember that we’re here to help if you need further assistance or advice, Feel free to contact us.

